My wife and I have been making our own bacon since January this year. The year is almost over so it’s well past time I documented the process for posterity, especially since I expect my typing to remain legible for longer than my handwriting. Also, I know there’s at least a couple of people out there who are actually interested in this 😉
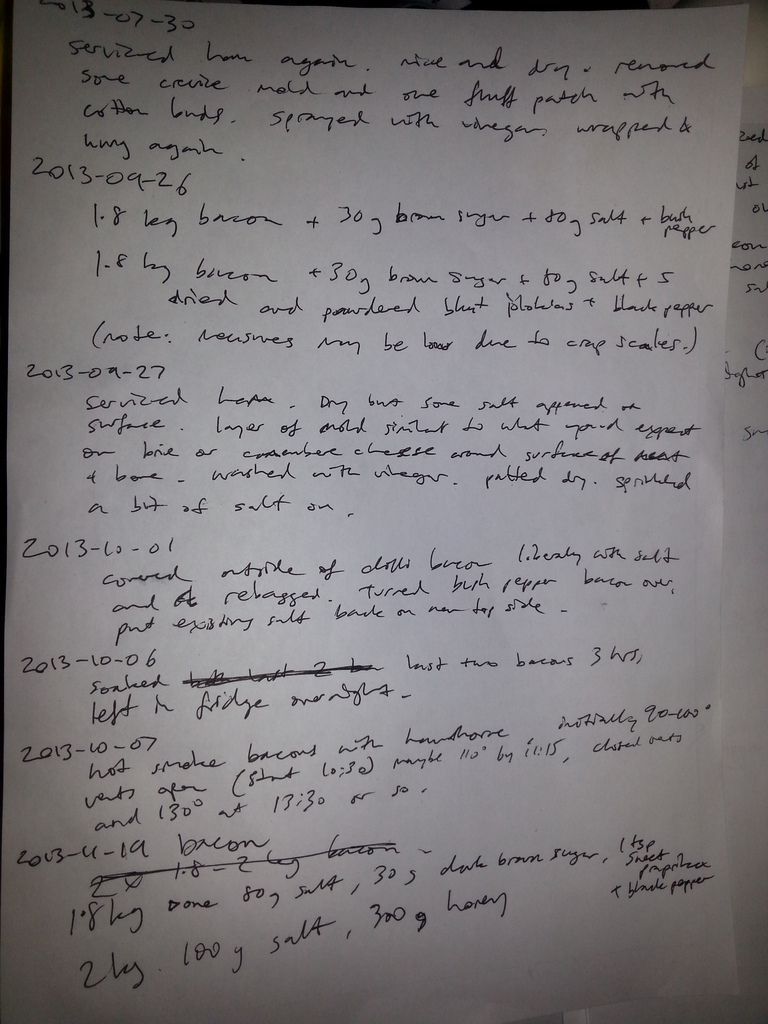 The astute observer (that is to say, anyone capable of deciphering my scrawl) will note that the above page refers to both ham and bacon. The ham’s not finished yet – it’s ageing – so that will have to wait for another post. Today’s post is about bacon.
Step 1: Raise Pigs
This is simultaneously easier and more complicated than it sounds. If you have the time and space I highly recommend this endeavour. Jules knew nothing of pigs. Pigs have wonderful personality and most certainly are not filthy, unless you cruelly restrict them to such a small area that they have no choice but to wallow in their own faeces. Please do not do this. Also, if you do get pigs, make sure you get more than one. A single pig is a lonely pig.
Eventually it will be time to slaughter and butcher them. Find someone who knows how to do this humanely and properly, and pay them to do it for you. I have slaughtered and butchered chickens myself, but pigs are larger and trickier.
Make sure you get cuts suitable for bacon. Depending on where you grew up, this is either the loin, side or belly. Unless I’m grossly misinformed, the side gives middle bacon, which is probably what we’re most used to seeing in Australia. If you’re not able to raise pigs, go see a butcher and purchase a few kilograms of the cut you like best.
Step 2: Cure Bacon
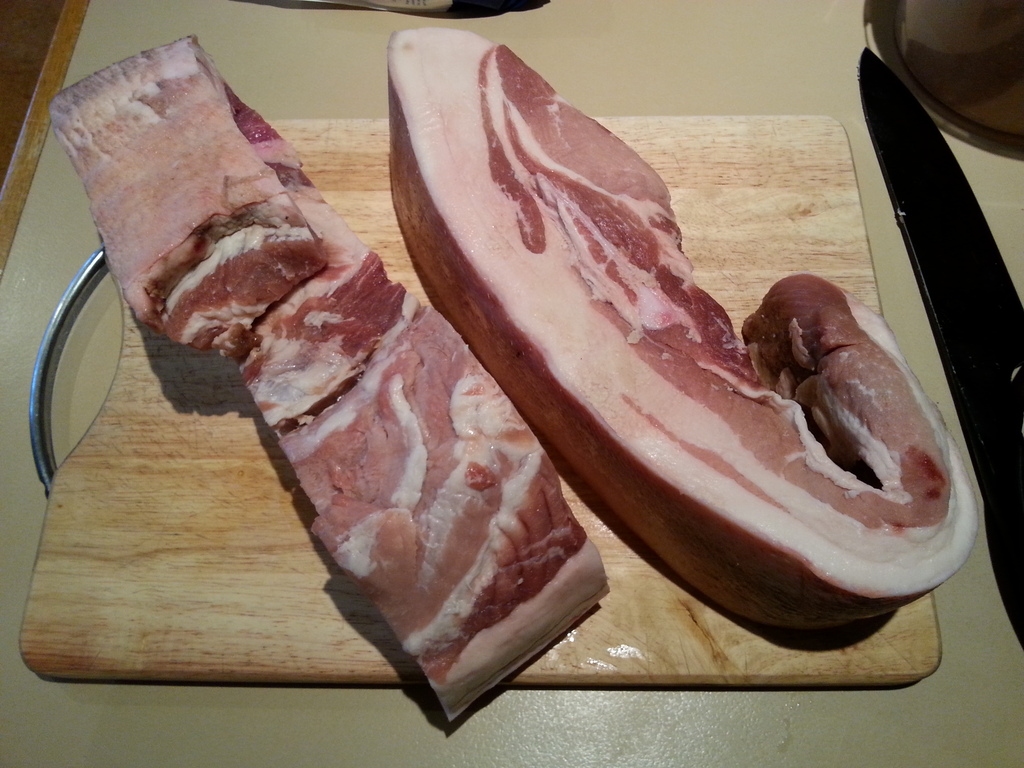
Cut your pork into pieces about 2kg each. If, like us, you started with two whole pigs worth of bacon, it’s OK to freeze it in pieces until you’re ready to cure it. Cured bacon will keep for a couple of months, whereas frozen raw meat will keep much longer.
 Next, prepare the cure. The idea is to get salt all through the meat to preserve it, remove moisture, and kill or mitigate any nasties. Salt by itself is – at the risk of stating the obvious – rather salty, so you usually add some sort of sweetener to the cure to improve the flavour. Here’s 80g salt, 30g dark brown sugar, 1tsp sweet paprika and a bit of black pepper which will do one of those 2kg pieces of pork:
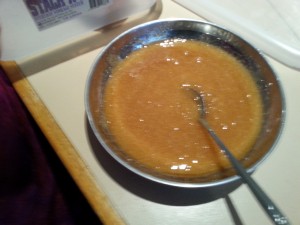
 For variety, the other piece was cured with 100g salt and 300g honey:
 It’s also very common to see sodium nitrite or potassium nitrate in cured meat. This stuff keeps the meat pink and is meant to retard the growth of the bacterium Clostridium botulinum, which causes botulism. On the other hand, nitrites and/or nitrates have some sort of reaction at high temperature (e.g. when you’re frying bacon) which results in the formation of carcinogens. Consequently there is some debate as to whether or not this stuff should be used, although you’ll almost certainly find it in any and all commercially cured meats. As best as I can tell from my research, high-moisture, low-salt, low-acid environments are most favourable to the development of botulism. Enough salt fixes the first two items on that list, we don’t care that our bacon isn’t neon pink, we’ve always been scrupulously clean in our meat processing, and we’ve been eating home cured bacon sans nitrites/nitrates for a year with no ill effects. So we’re happy. Your mileage may vary however, so please do take care when curing meat yourself.
The amount of cure to use is an interesting question. My wife bought me a rather good book called A Guide to Canning, Freezing, Curing & Smoking Meat, Fish & Game, which says to use 1/2oz of dry cure per pound of meat when making bacon. Given our bacon pieces are about 2kg, that’s 4.4lbs, which means we should use 2.2oz of cure, which is about 62 grams. We’ve ended up using a bit over twice that with the dry cure, and rather more with the honey cure, largely as a result of mild paranoia about not getting enough salt through. Also, random internet research shows such a wild variance of cure volume to meat weight in various recipes, I’ve come to the conclusion that nobody has any idea what they’re talking about, so the best thing to do is experiment and keep notes on what works.
Back to the actual process. Rub the dry cure into one piece of meat, making sure to get it into all the nooks and crannies. Try not to have any invisible cuts or abrasions on your fingers at this point (salt is painful).
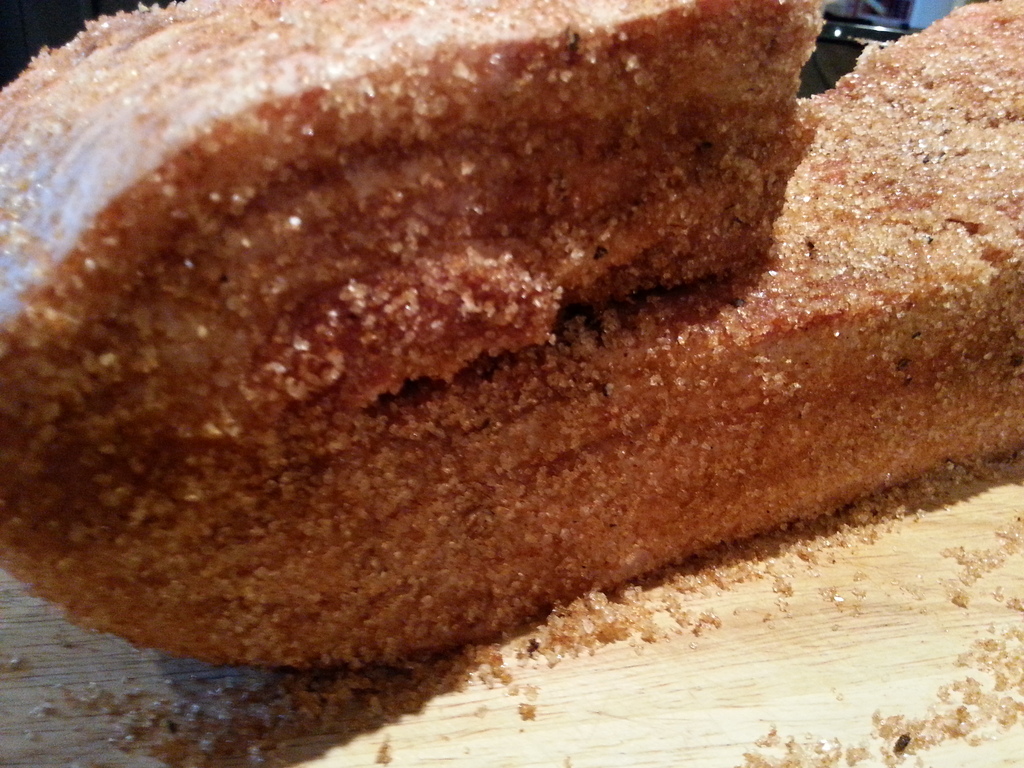 Bag it up and put it in the fridge:
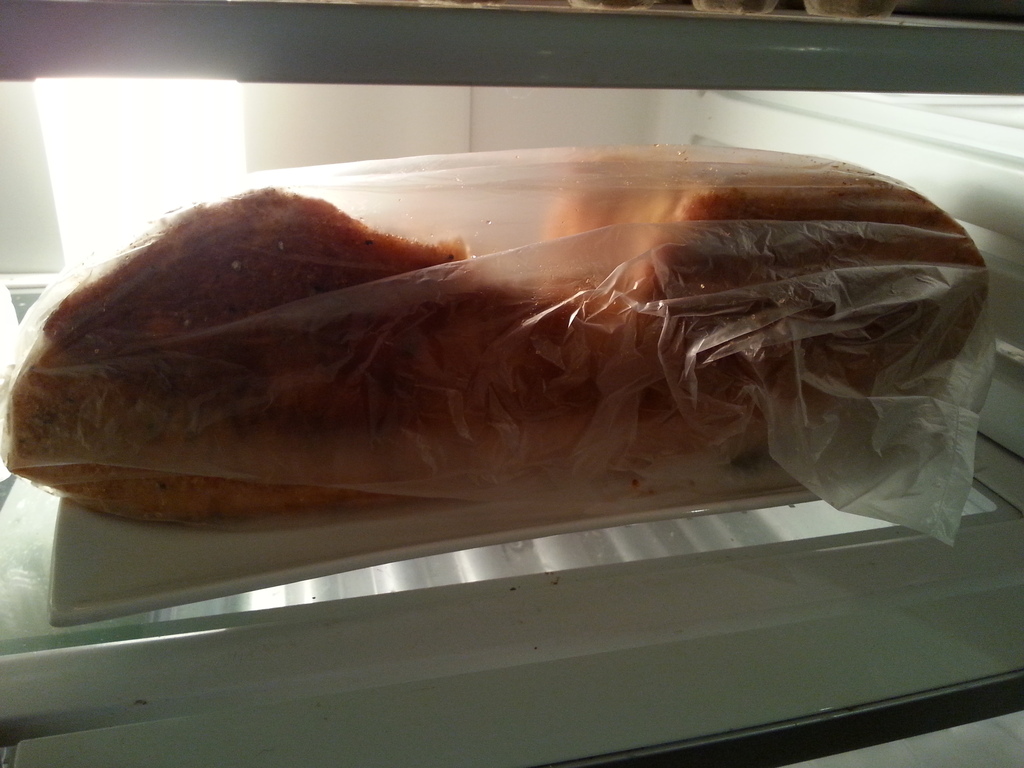 Put the other piece in a handy box and spoon/shove the honey cure all over it, again trying to get it into all the nooks and crannies:
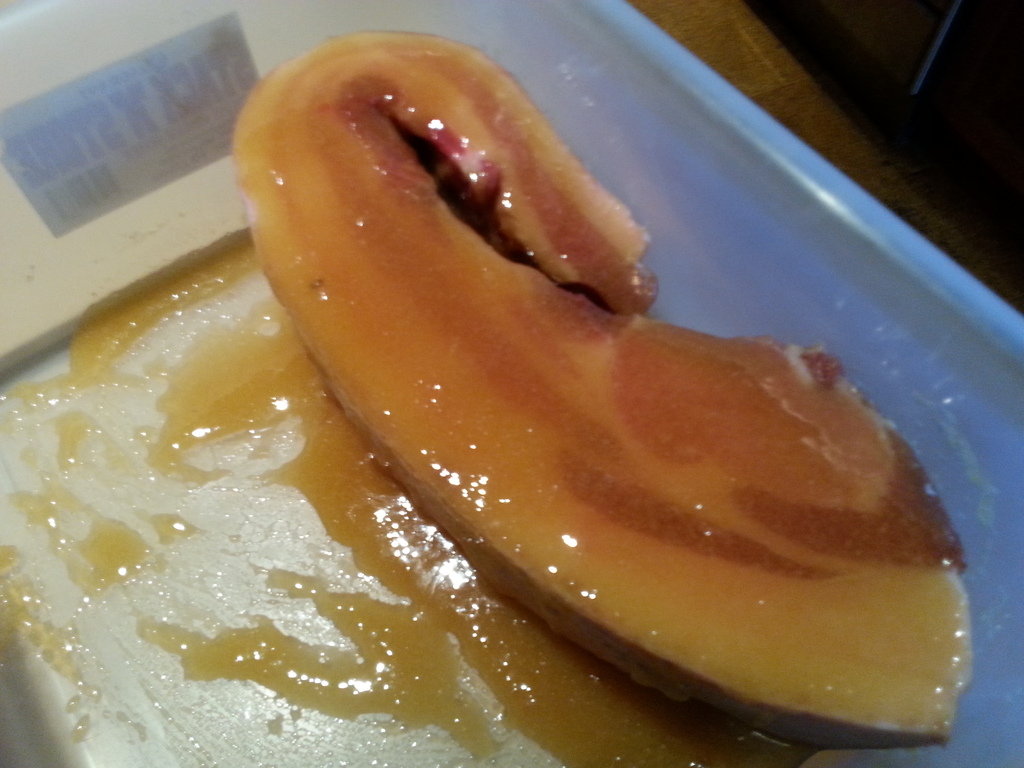 The honey cure bacon goes in the fridge too. You want to be curing between 0-4°C. Below zero the meat freezes which retards the salt action. Above 4°C, bacteria can grow.
Leave the meat curing in the fridge for 7-14 days. After the first few days some liquid will have accumulated. Tip this out.
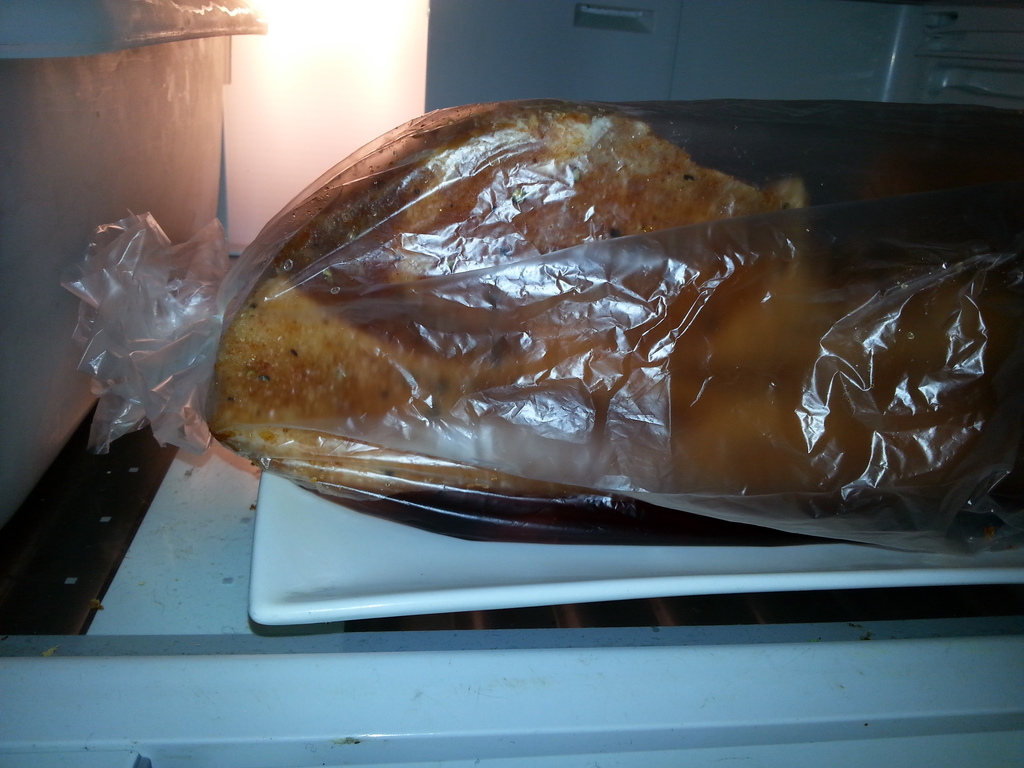 The dry cure meat may want a little more salt packed onto it at least once during the curing process if any bare spots show up, and the meat in the honey cure will want to be turned over and have the cure spooned over it again at least once.
After the curing period, wash any excess salt/cure off the meat and soak it in water in the fridge for a few hours. This is meant to equalize the salt. Drain until thoroughly dry (we just leave it in the fridge overnight).
Step 3: Smoke Bacon
Smoking adds flavour and helps to preserve the meat. You can cold smoke, which is where the smoke chamber remains below 32°C; this adds flavour without cooking the meat. Or, you can or hot smoke until the meat is actually cooked (internal temperature above 71°C for pork). Again there is some debate as to which is the best approach, but our experience indicates that hot smoking works just fine and is quite delicious. You will, of course, need a smoker. Here’s one I prepared earlier:
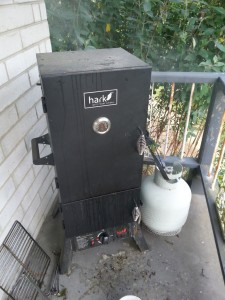 There’s a gas burner in the bottom and a box above that in which you put wood chips, along with a pan of water to add moisture to the process and help regulate temperature. The rest of the unit is the smoking chamber in which you put your meat. Use only hardwood for smoking. The rule of thumb is something like “any fruiting tree that sheds its leaves in winter”. You can buy bags of wood chips suitable for smoking, or prune a nearby tree if you have one that needs a trim. The latter is cheaper, but rather more work. We’ve tended to use hawthorn, as I pruned a lot of that earlier in the year, and it has a nice flavour.
You want to smoke on as low a temperature as possible that will eventually cook the meat. Long slow cooking means more smoke flavour penetration. We’ve tended to smoke starting at about 90°C (as measured on the front of the smoker), eventually getting up to 120-150°C over the course of five or six hours.
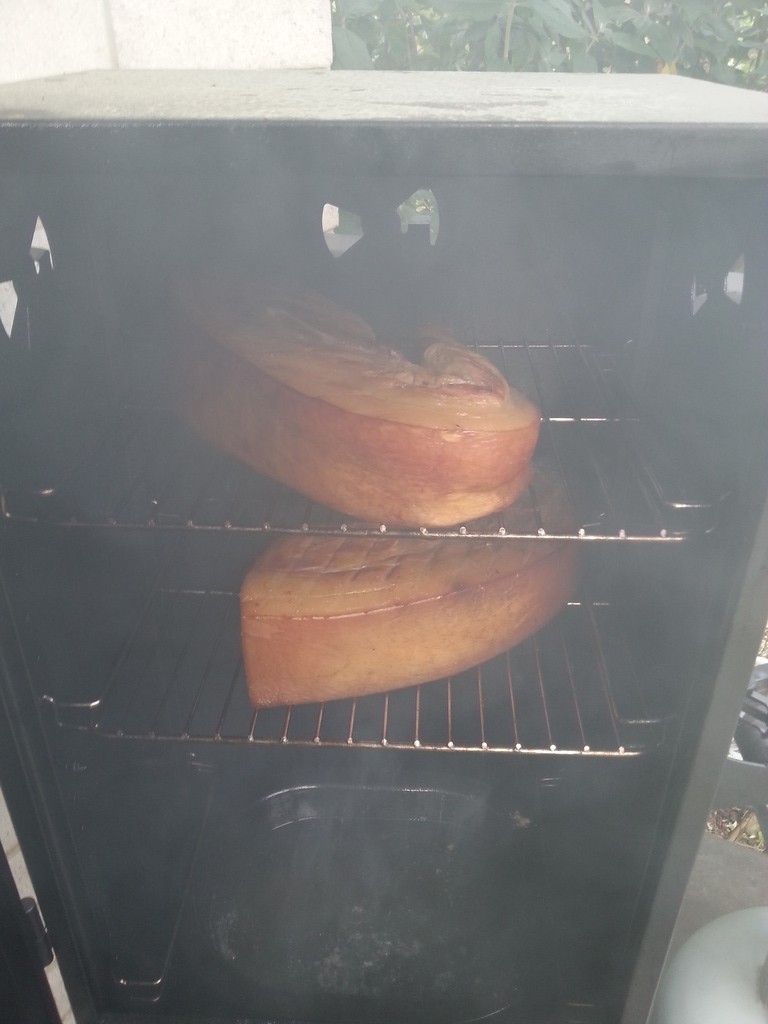 Check the temperature of the thickest part of the meat with a meat thermometer. Once it’s 71-73°C you’re done. Take the meat out and it will look something like this:
 At this point, you can tear bits off and eat it. It’s cooked after all, and hot and delicious. But you really want to leave it to cool then put it in the fridge. It will keep for up to a couple of months, if you can believe that (in my experience, store bought bacon goes off well before that).
Step 4: Eat Bacon
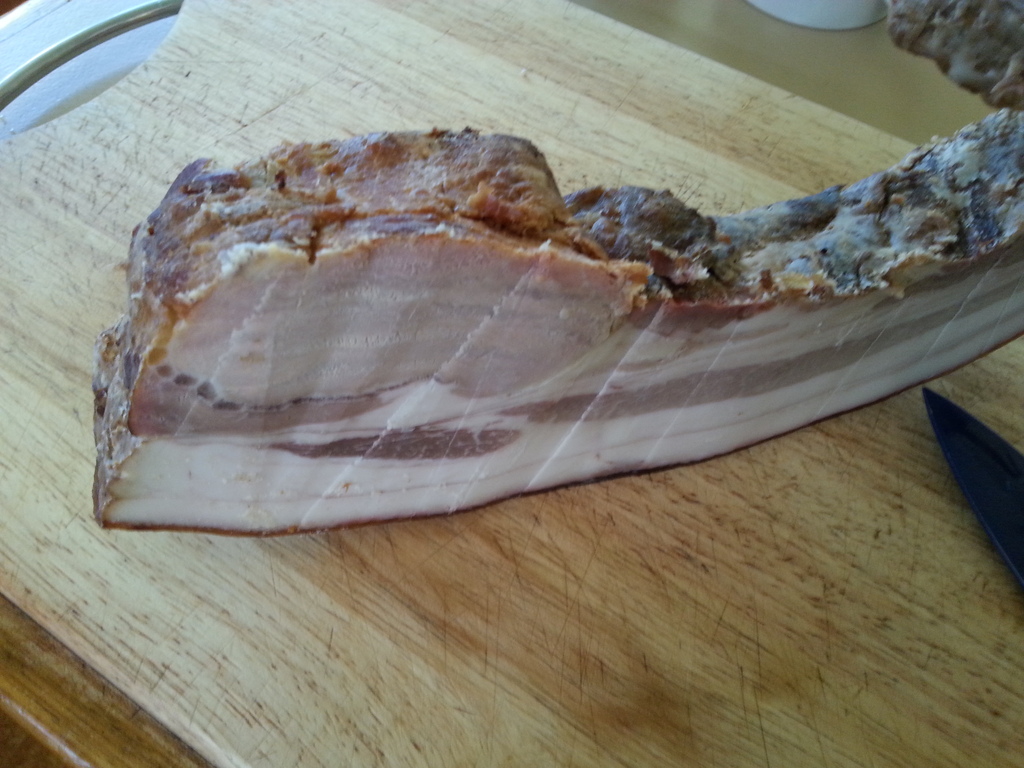
Finally! The last of the four easy steps. Take the bacon out of the fridge, and slice some of it off. It will look something like this in cross-section:
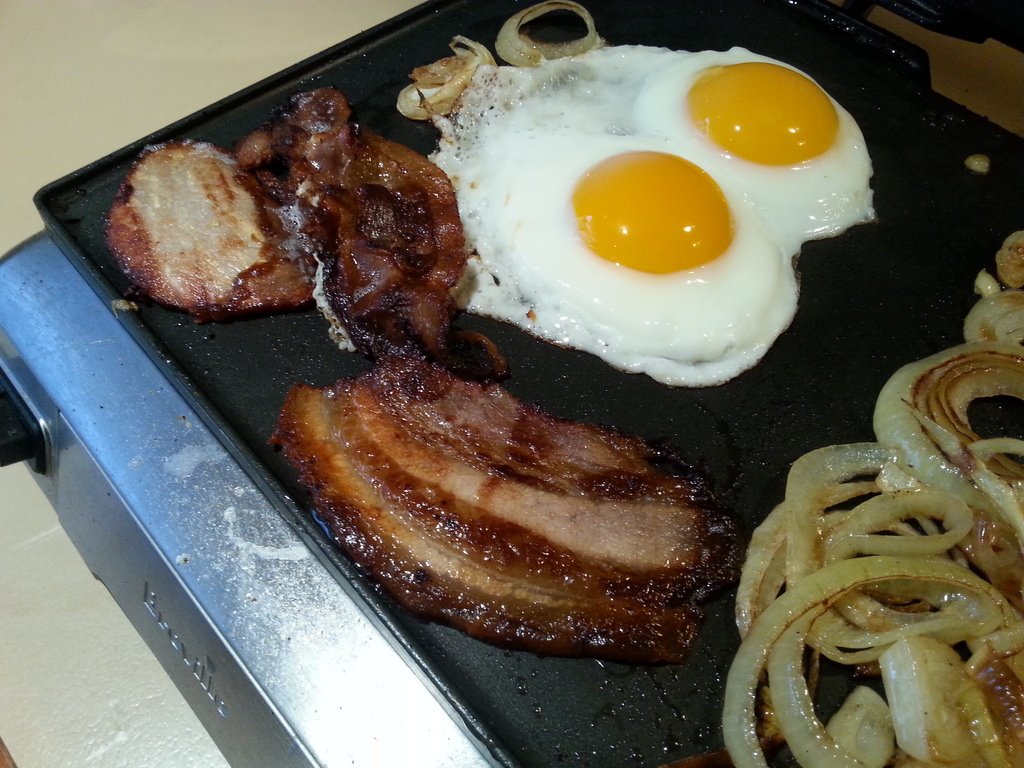
 Now fry it with eggs, onions, anything else you have handy:
 Or make a BLT.
Or anything else you can think to do with bacon.
The possibilities are endless – it’s bacon, right?
“Ruby the dry cure [..]” — what’s the name for an occupationally induced Freudian slip? 🙂
I suspect that as long as you keep the bacon in big chunks like that, it’ll keep pretty well, since you have less surface area than on the average store-bought bacon…
LOL! I didn’t even notice that slip 🙂 Fixed now…
And yeah, I reckon you’re right about keeping it in big chunks helping with longevity.