We recently had a 5.94KW solar PV system installed – twenty-two 270W panels (14 on the northish side of the house, 8 on the eastish side), with an ABB PVI-6000TL-OUTD inverter. Naturally I want to be able to monitor the system, but this model inverter doesn’t have an inbuilt web server (which, given the state of IoT devices, I’m actually kind of happy about); rather, it has an RS-485 serial interface. ABB sell addon data logger cards for several hundred dollars, but Rick from Affordable Solar Tasmania mentioned he had another client who was doing monitoring with a little Linux box and an RS-485 to USB adapter. As I had a Raspberry Pi 3 handy, I decided to do the same.
Step one: Obtain an RS-485 to USB adapter. I got one of these from Jaycar. Yeah, I know I could have got one off eBay for a tenth the price, but Jaycar was only a fifteen minute drive away, so I could start immediately (I later discovered various RS-485 shields and adapters exist specifically for the Raspberry Pi – in retrospect one of these may have been more elegant, but by then I already had the USB adapter working).
Step two: Make sure the adapter works. It can do RS-485 and RS-422, so it’s got five screw terminals: T/R-, T/R+, RXD-, RXD+ and GND. The RXD lines can be ignored (they’re for RS-422). The other three connect to matching terminals on the inverter, although what the adapter labels GND, the inverter labels RTN. I plugged the adapter into my laptop, compiled Curt Blank’s aurora program, then asked the inverter to tell me something about itself:
 Interestingly, the comms seem slightly glitchy. Just running
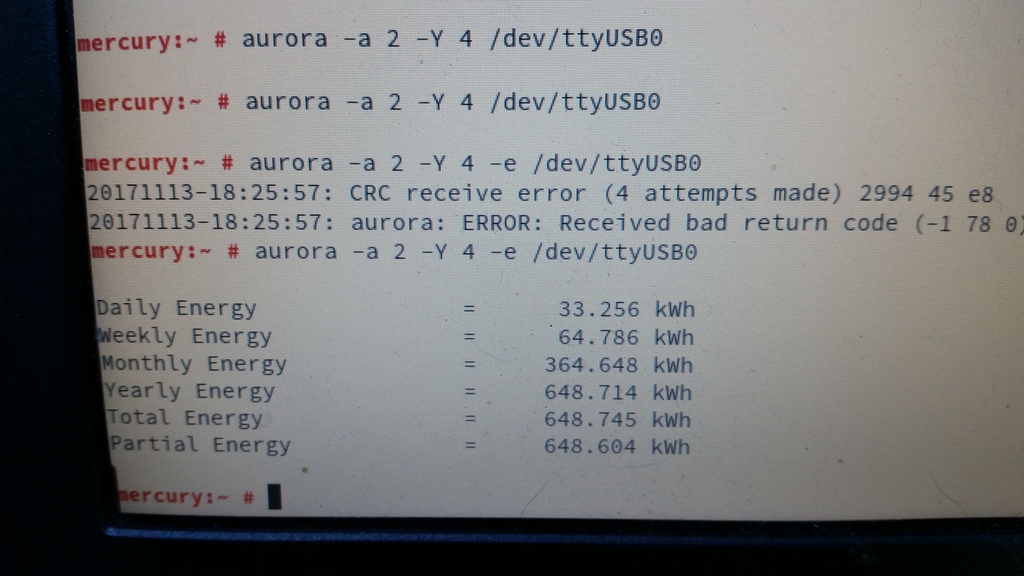
 aurora -a 2 -e /dev/ttyUSB0 always results in either “No response after 1 attempts” or “CRC receive error (1 attempts made)”. Adding “-Y 4” makes it retry four times, which is generally rather more successful. Ten retries is even more reliable, although still not perfect. Clearly there’s some tweaking/debugging to do here somewhere, but at least I’d confirmed that this was going to work.
So, on to the Raspberry Pi. I grabbed the openSUSE Leap 42.3 JeOS image and dd’d that onto a 16GB SD card. Booted the Pi, waited a couple of minutes with a blank screen while it did its firstboot filesystem expansion thing, logged in, fiddled with network and hostname configuration, rebooted, and then got stuck at GRUB saying “error: attempt to read or write outside of partition”:
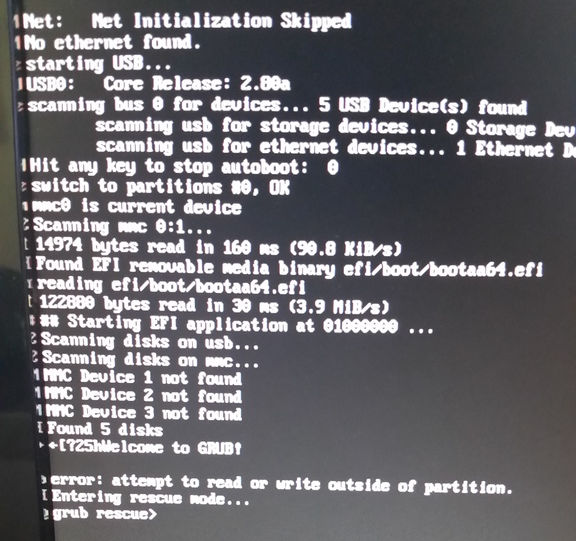
Apparently that’s happened to at least one other person previously with a Tumbleweed JeOS image. I fixed it by manually editing the partition table.
Next I needed an RPM of the aurora CLI, so I built one on OBS, installed it on the Pi, plugged the Pi into the USB adapter, and politely asked the inverter to tell me a bit more about itself:
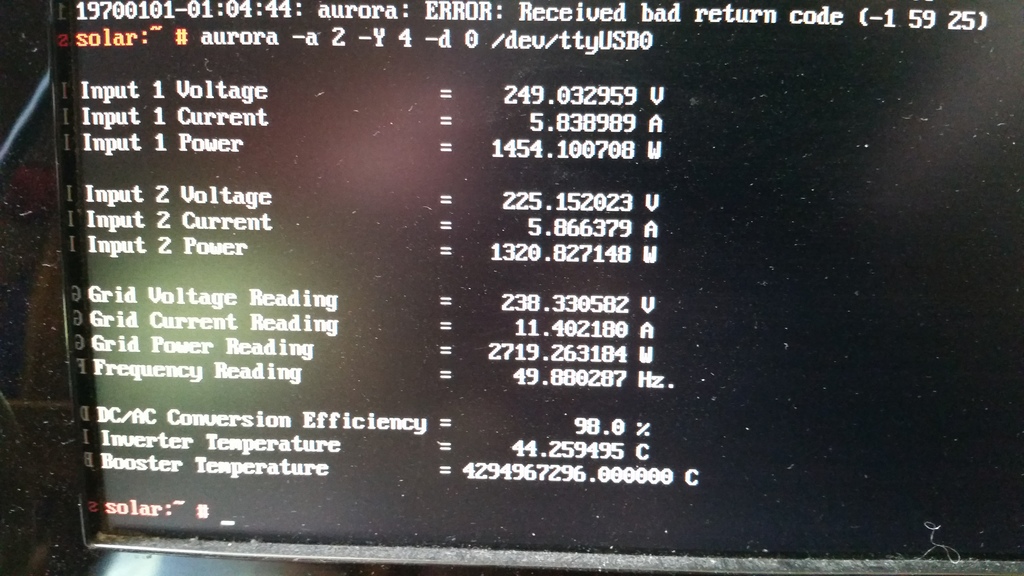
Everything looked good, except that the booster temperature was reported as being 4294967296°C, which seemed a little high. Given that translates to 0x100000000, and that the south wall of my house wasn’t on fire, I rather suspected another comms glitch. Running aurora -a 2 -Y 4 -d 0 /dev/ttyUSB0 a few more times showed that this was an intermittent problem, so it was time to make a case for the Pi that I could mount under the house on the other side of the wall from the inverter.
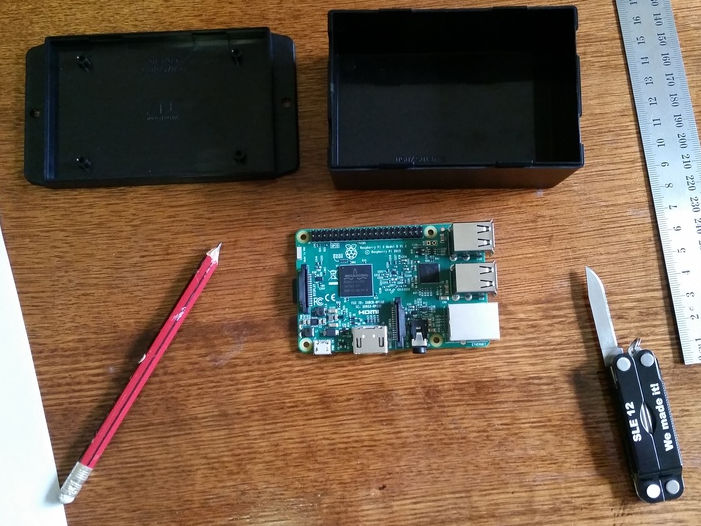
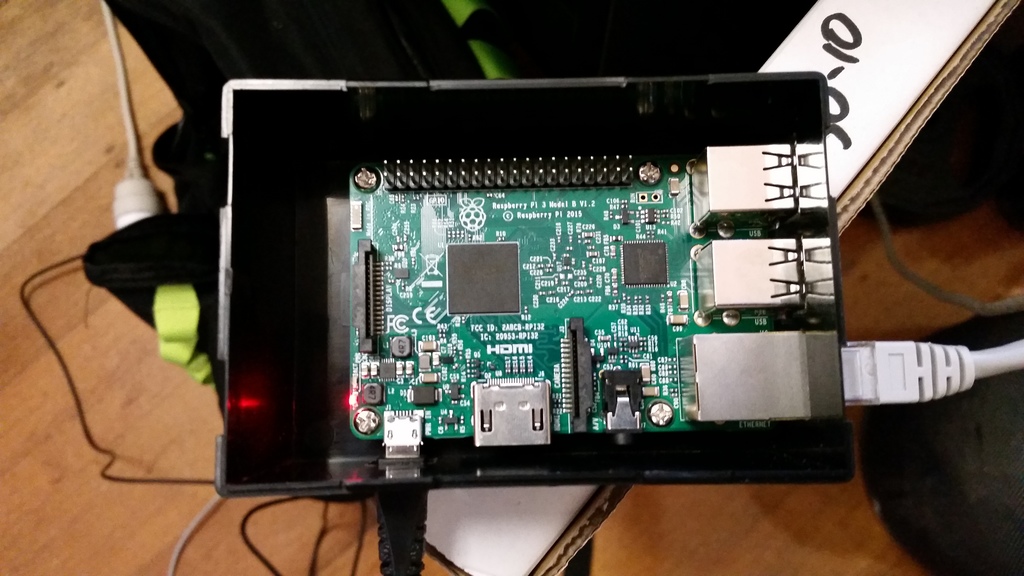
I picked up a wall mount snap fit black plastic box, some 15mm x 3mm screws, matching nuts, and 9mm spacers. The Pi I would mount inside the box part, rather than on the back, meaning I can just snap the box-and-Pi off the mount if I need to bring it back inside to fiddle with it.
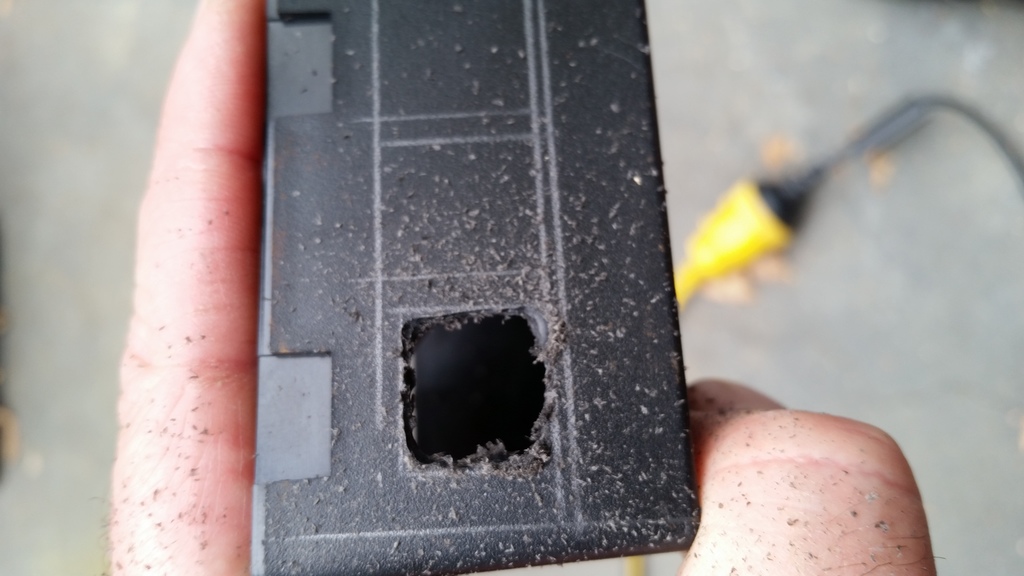
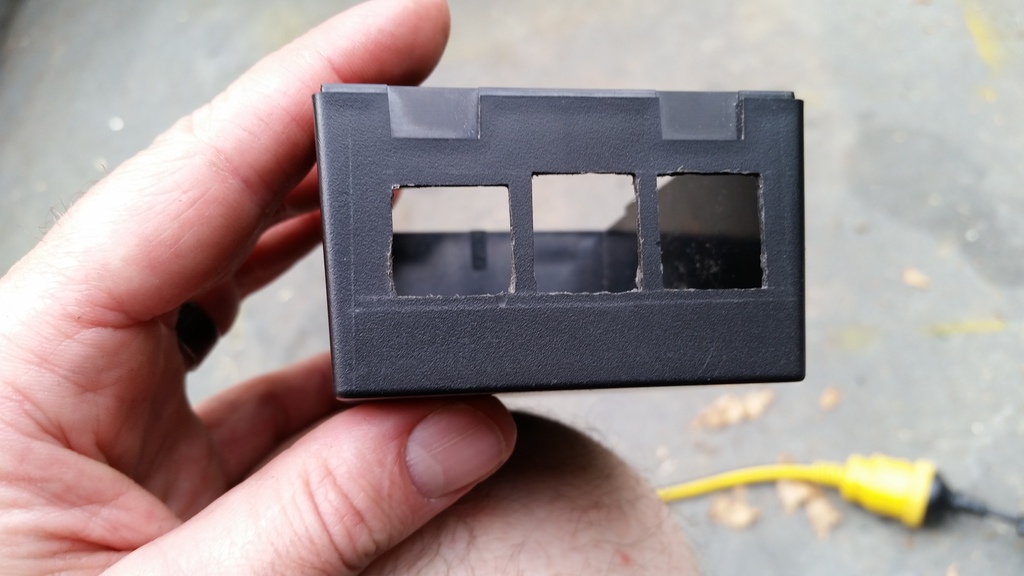
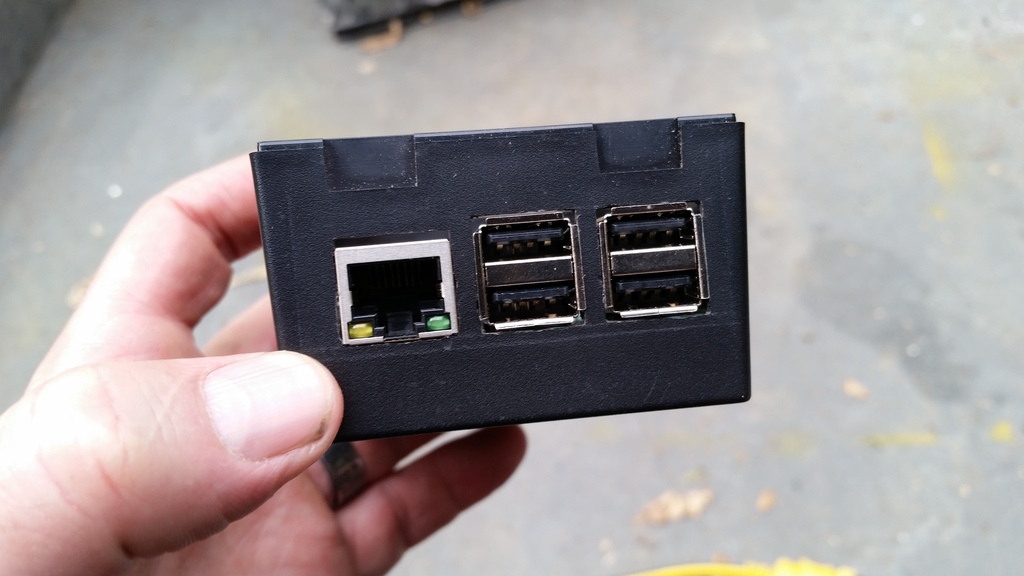
Then I had to measure up and cut holes in the box for the ethernet and USB ports. The walls of the box are 2.5mm thick, plus 9mm for the spacers meant the bottom of the Pi had to be 11.5mm from the bottom of the box. I measured up then used a Dremel tool to make the holes then cleaned them up with a file. The hole for the power connector I did by eye later after the board was in about the right place.
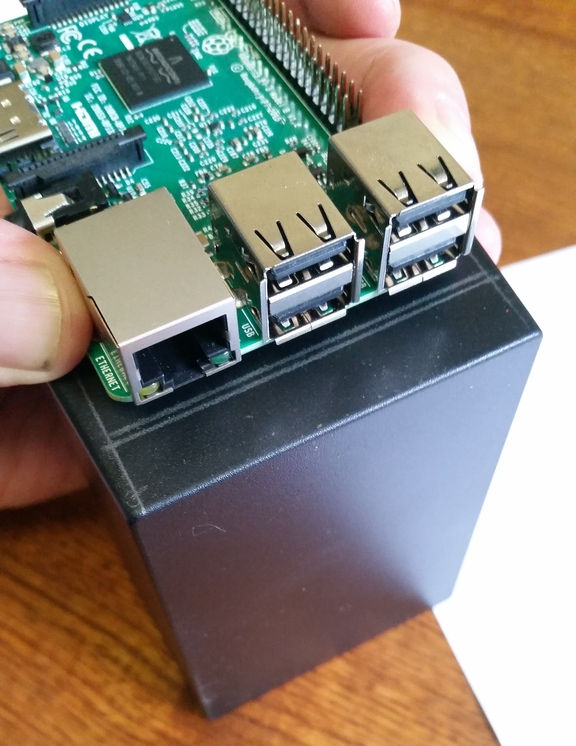
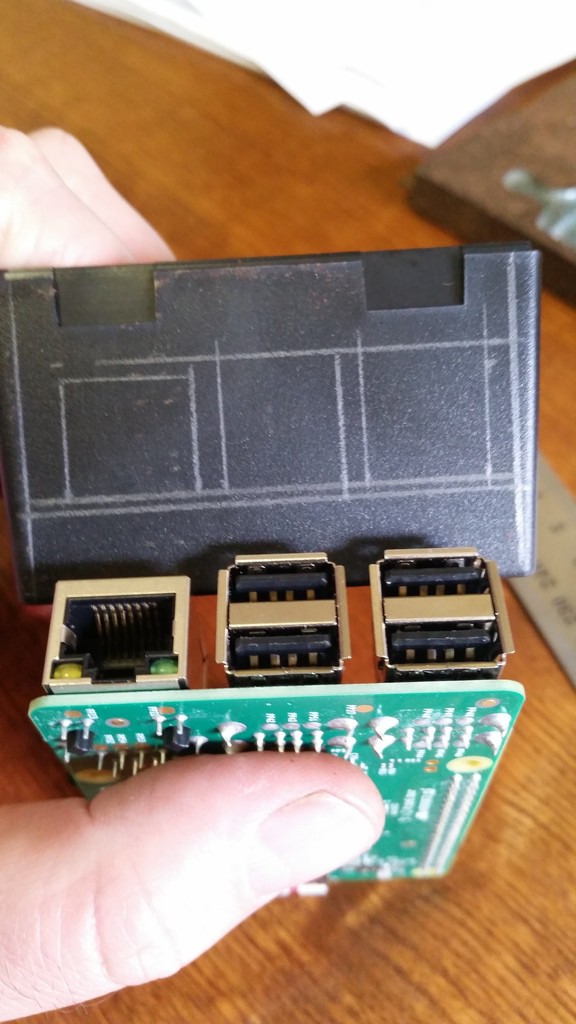
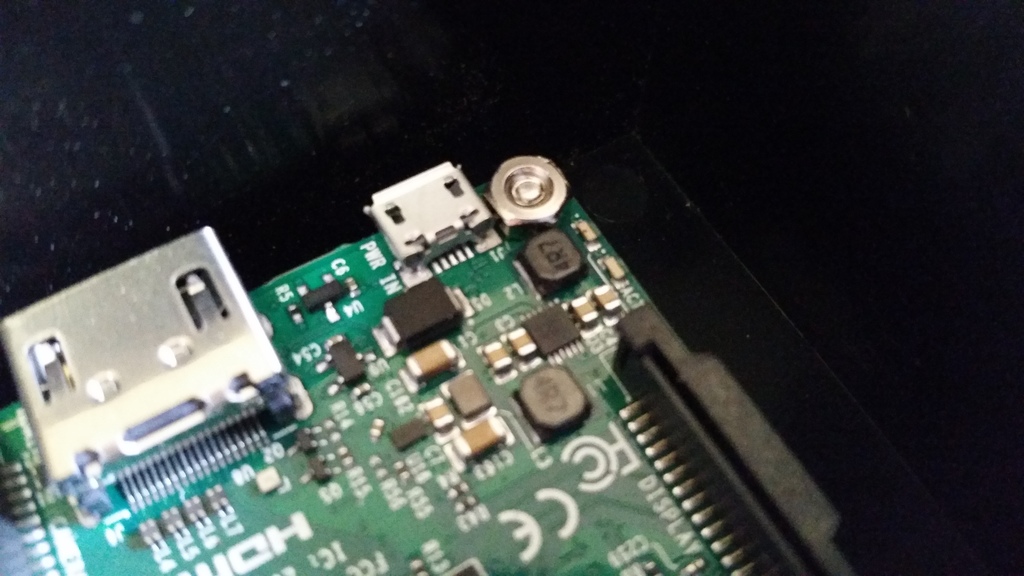
I didn’t measure for the screw holes at all, I simply drilled through the holes in the board while it was balanced in there, hanging from the edge with the ports. I initially put the screws in from the bottom of the box, dropped the spacers on top, slid the Pi in place, then discovered a problem: if the nuts were on top of the board, they’d rub up against a couple of components:
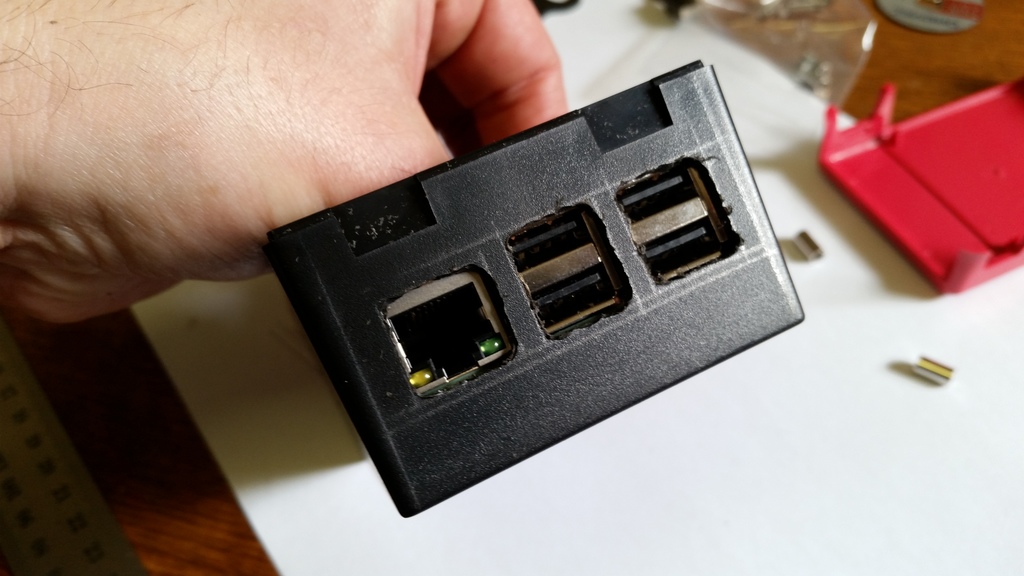
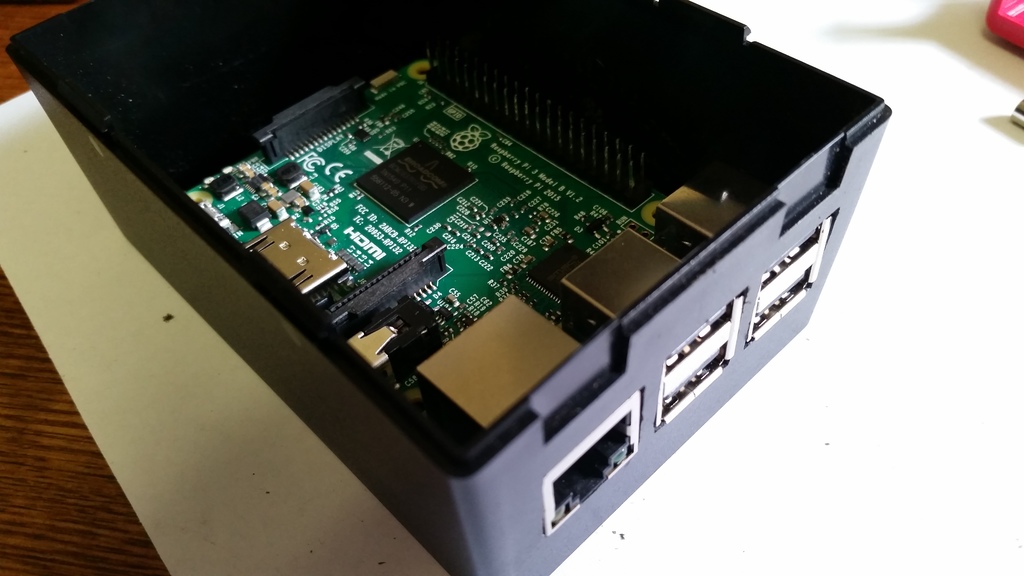
So I had to put the screws through the board, stick them there with Blu Tack, turn the Pi upside down, drop the spacers on top, and slide it upwards into the box, getting the screws as close as possible to the screw holes, flip the box the right way up, remove the Blu Tack and jiggle the screws into place before securing the nuts. More fiddly than I’d have liked, but it worked fine.
One other kink with this design is that it’s probably impossible to remove the SD card from the Pi without removing the Pi from the box, unless your fingers are incredibly thin and dexterous. I could have made another hole to provide access, but decided against it as I’m quite happy with the sleek look, this thing is going to be living under my house indefinitely, and I have no plans to replace the SD card any time soon.

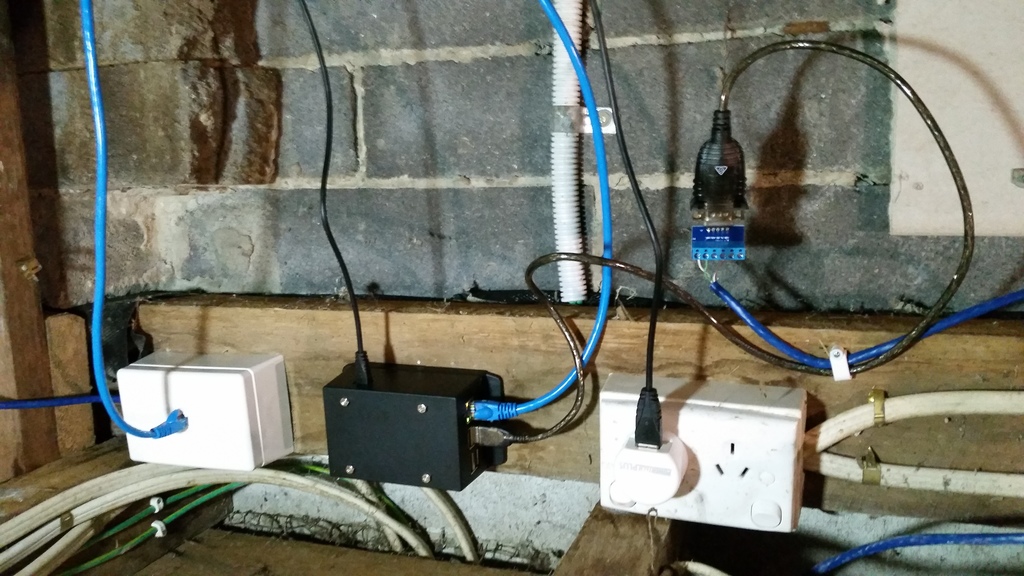
All that remained was to mount it under the house. Here’s the finished install:
After that, I set up a cron job to scrape data from the inverter every five minutes and dump it to a log file. So far I’ve discovered that there’s enough sunlight by about 05:30 to wake the inverter up. This morning we’d generated 1KW by 08:35, 2KW by 09:10, 8KW by midday, and as I’m writing this at 18:25, a total of 27.134KW so far today.
Next steps:
- Figure out WTF is up with the comms glitches
- Graph everything and/or feed the raw data to pvoutput.org
Brilliant and ever so neat!
Nice work, Tim! This sounds like a perfect use case for setting up a monitoring system based on Prometheus and creating a nice dashboard using Grafana 🙂
Oh, absolutely 🙂
nice hacking!! 🙂